The Welder Page
Back from the Welder
Jim Walcott
Rutland, Mass
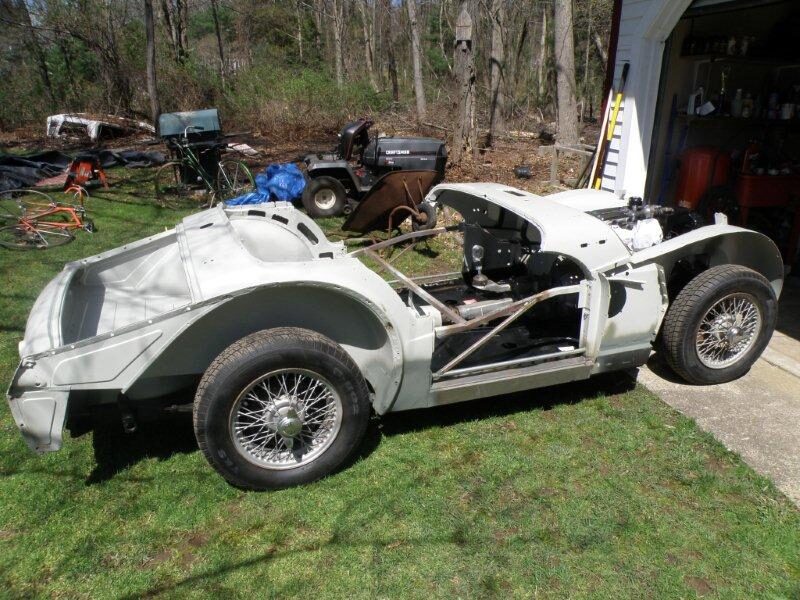
No bondo left on the tub. Major fixes.
New inner and outer sills
Rebuilt the bottom of both A and B columns
Complete rebuild behind both B columns (bottom of dogleg and inner wings)
Rebuilt passenger side body mount and body rot around both sides. Also, inside of the Trunk compartment.
New floorboards, both sides.
Also, new patches here and there....too numerous to mention.
New floor boards, plus the bottom of each of the fire walls, just above the floor boards replaced. 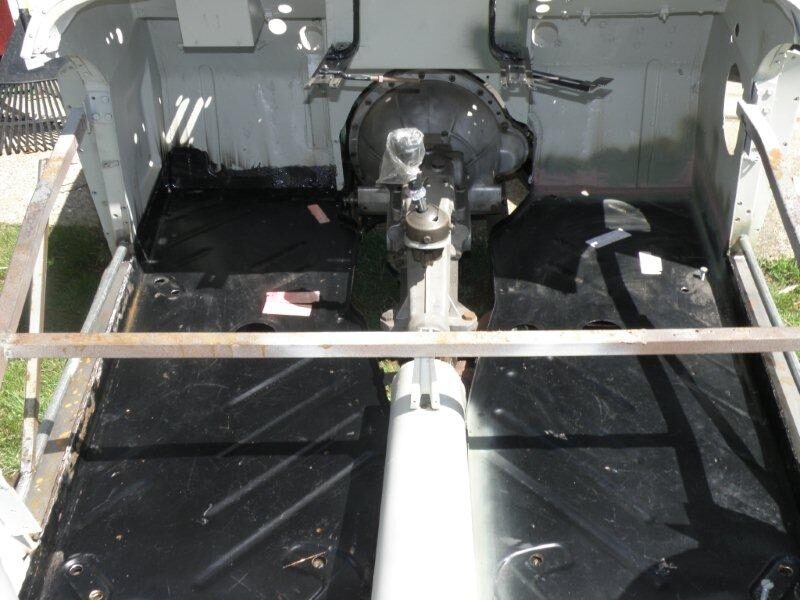
Close-up of new passenger side inner sill (rocker panel) and fire wall work. 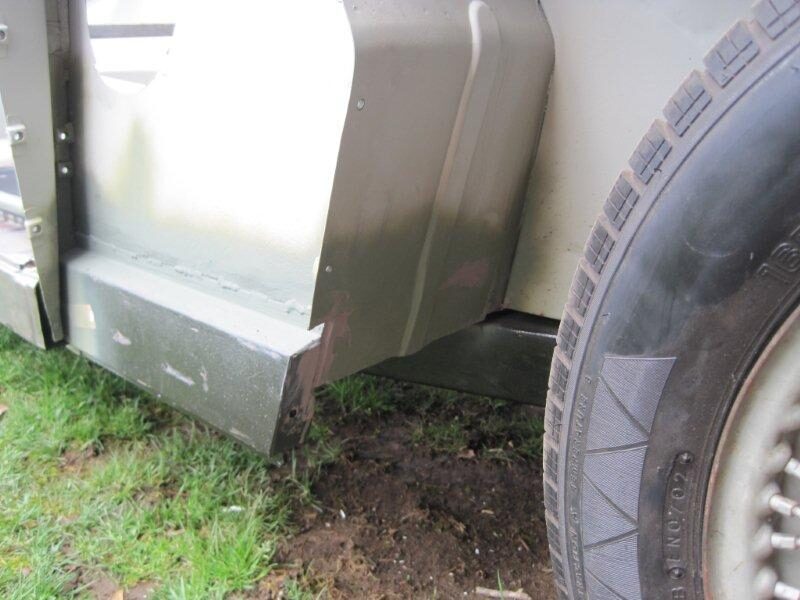
Outer sill close-up with new A and B column bottoms. Also, patch on inner wing....lower left. 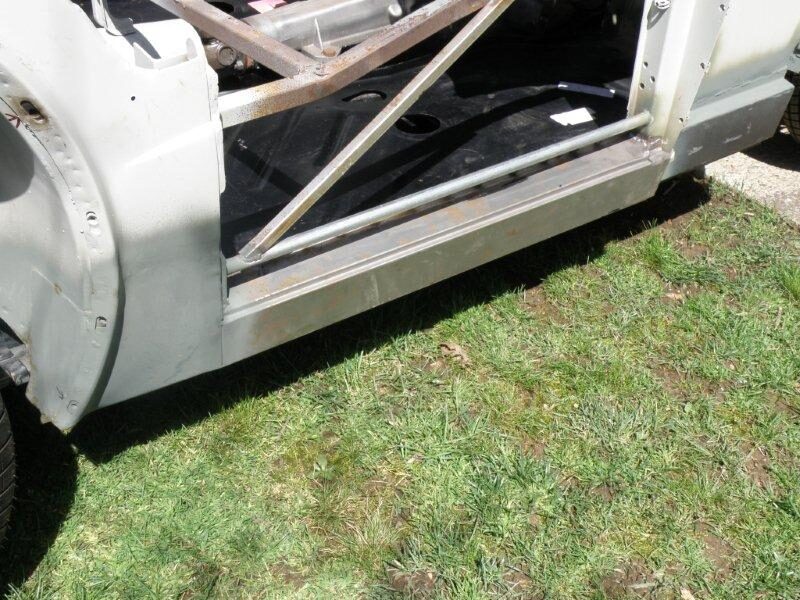
Close-up view
Rather than re-build it, it was easier to buy both dog legs and just use the bottom 8 inches or so, and patch them on. 
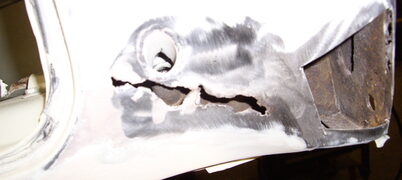
A little patch on the battery compartment 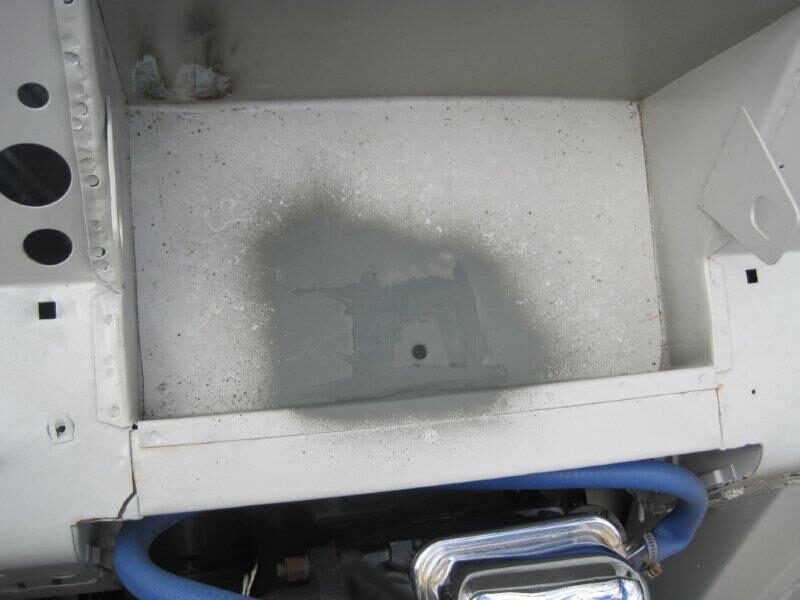
These next two pictures show the work done on the passenger side rear panel, replacing those pesky,
welded in nuts, also doing away with the rot with newly fabricated panels. 
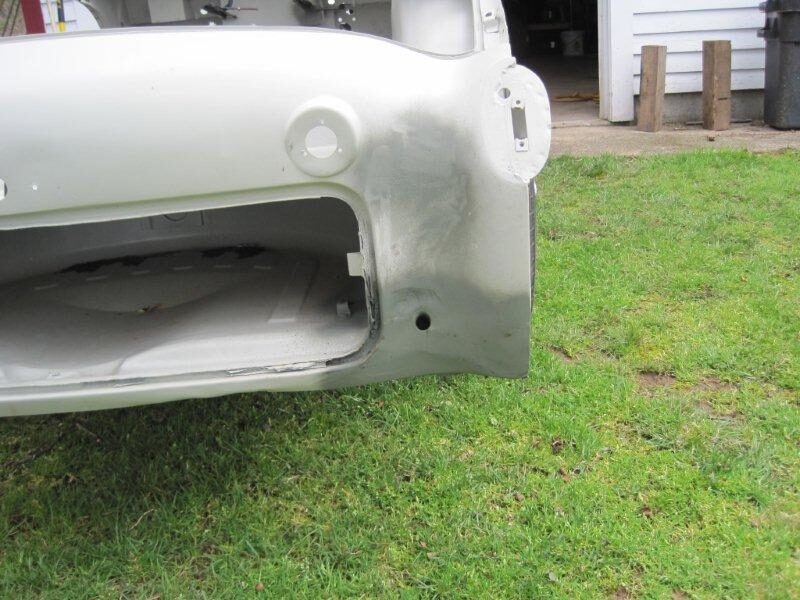
Inside the spare tyre compartment. Cut out rot, also making an access panel to the rear body mount.
Notice those two screwed-in strips for the leather strap to hold the took kit and jack. 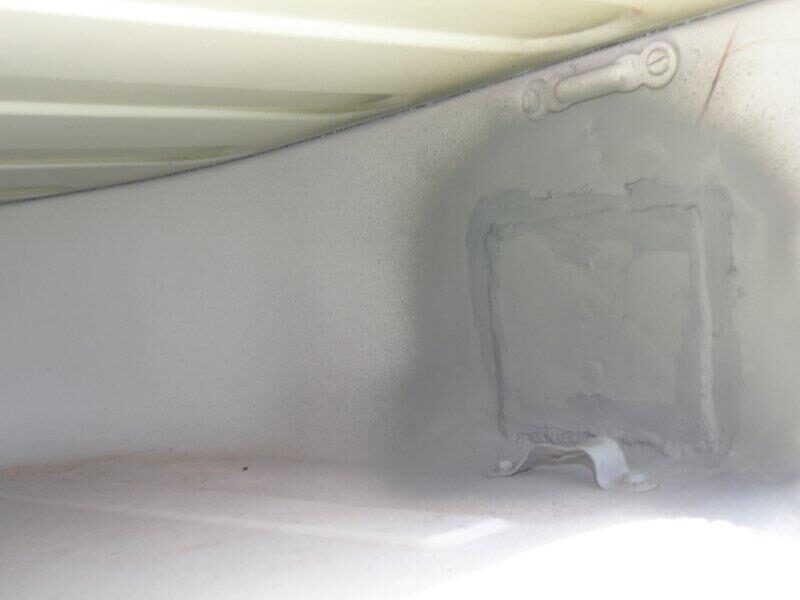
From the outside. The rot removed from rear body mount. 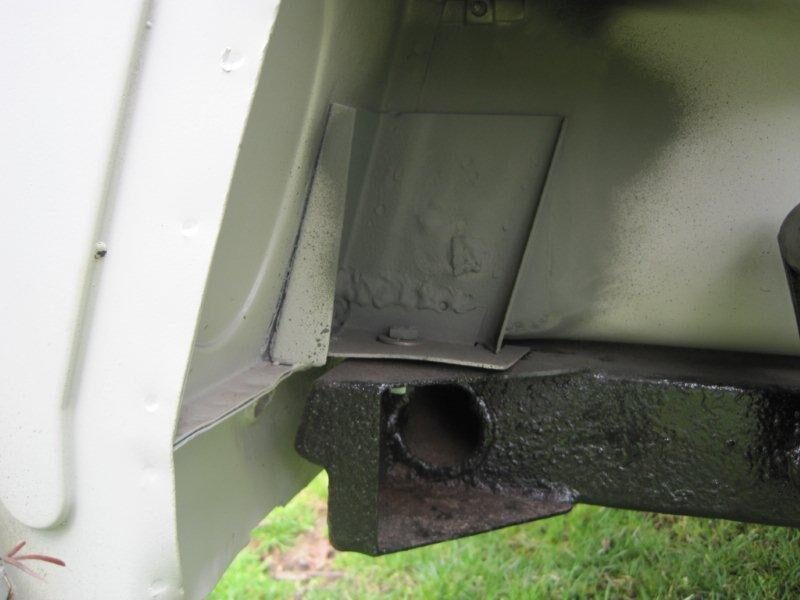
Moving around to the driver's side. Again, the bottom of a new dogleg was welded on, along with a patch on the inner wheel well
New inner and outer sills also installed on this side. 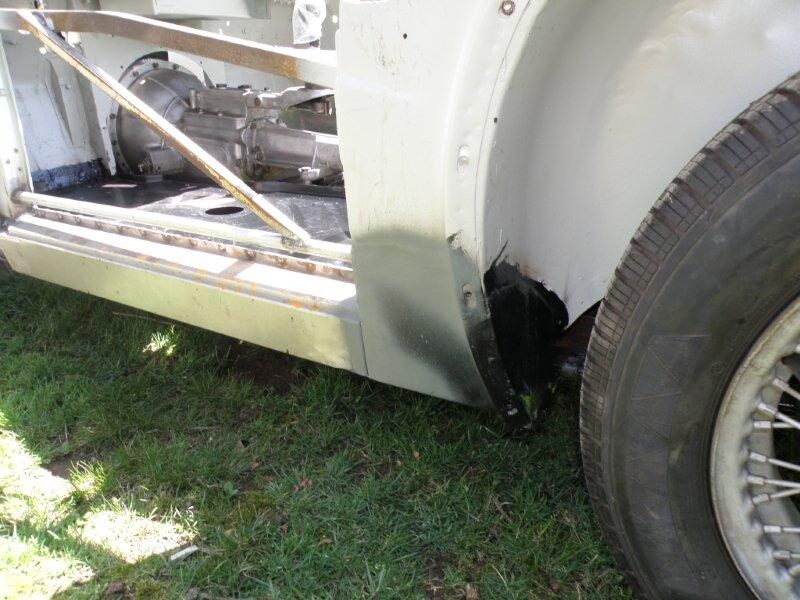
Another fabricated piece, removing the rot, added to fire wall, here on the driver's side 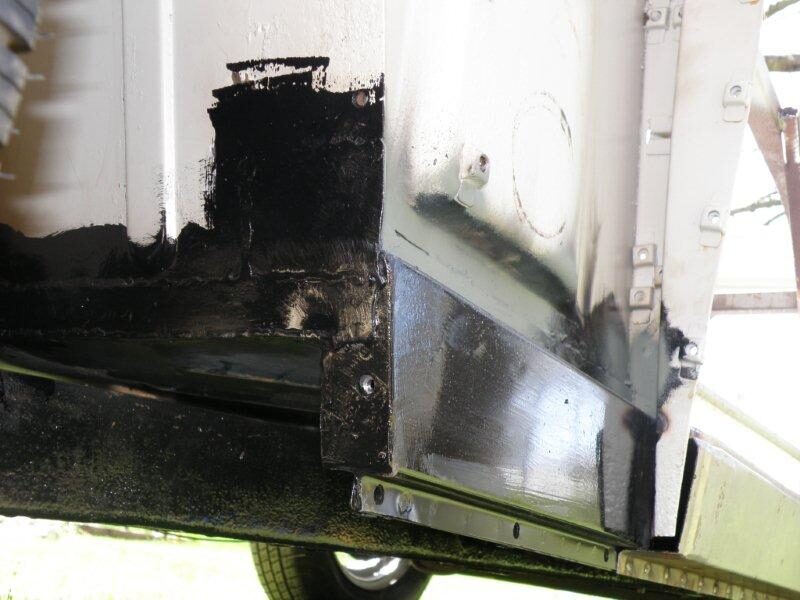
All patches were coated with POR-15. It was poured on the inside of the inner sills, throughout.
My grandchildren's grandchildren should be driving this one.
Back to the Triumph Index Page