
Baby's First Chair
A Chair for our first Grandchild
It had to be safe: smooth corners and edges, etc etc etc.
Here are the Main Parts
From upper left, clockwise.
Left side, Back, Right Side, Seat 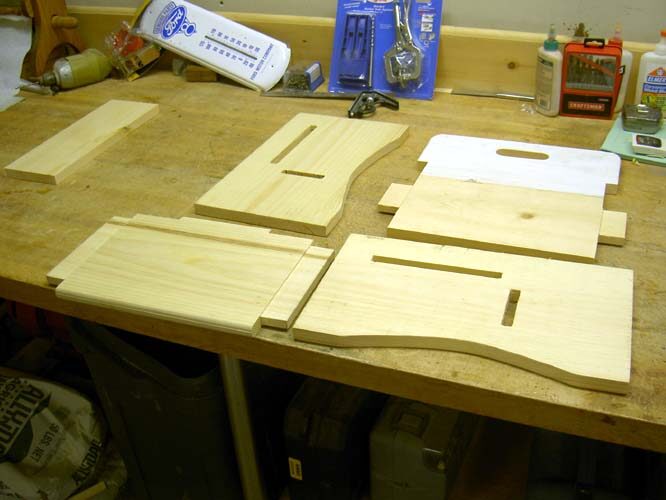
I wanted to make it like my computer parts. Plug and Play. Something for him to look at with interest.
Maybe encourage the little guy to become an Architect...Snicker.
I gave it an extended back so he couldn't tip backwards. 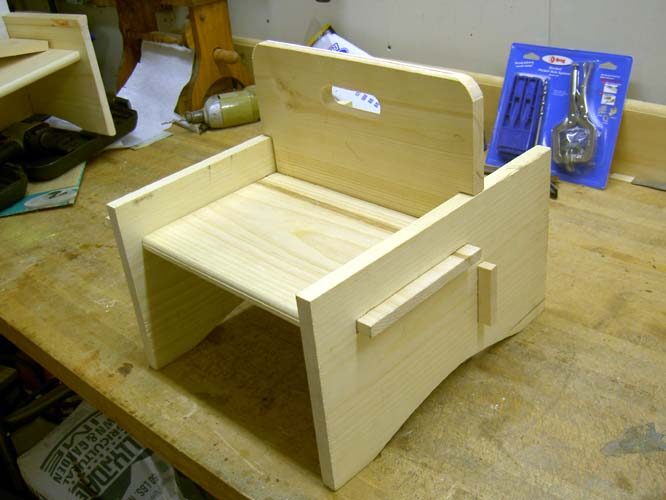
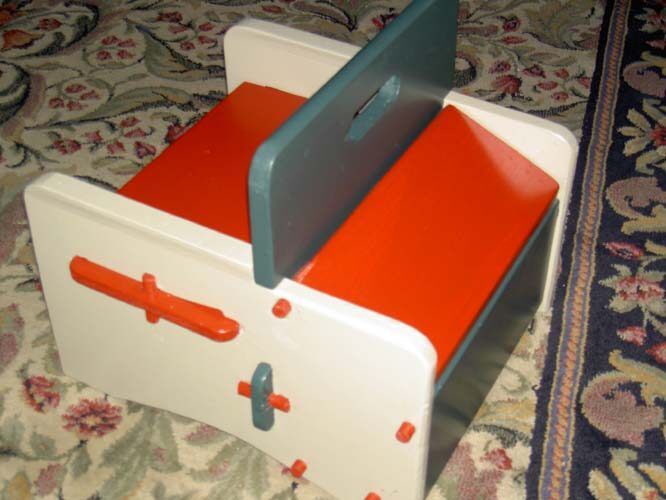
Then I decided not to use any glue or nails, so I inserted dowels to hold it together.
Also, the sides were a little low, so I added armrests, using the only glue, and a few brads 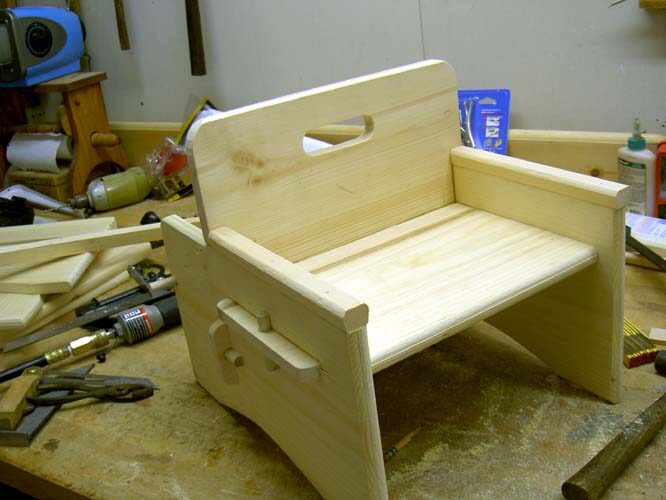
It looked kind of boring, ie, like any other chair.
"Why not a toy box?" I said. "I'll put that back space to good use.
Still, no nails or metal hinges, etc. I used dowels here also. 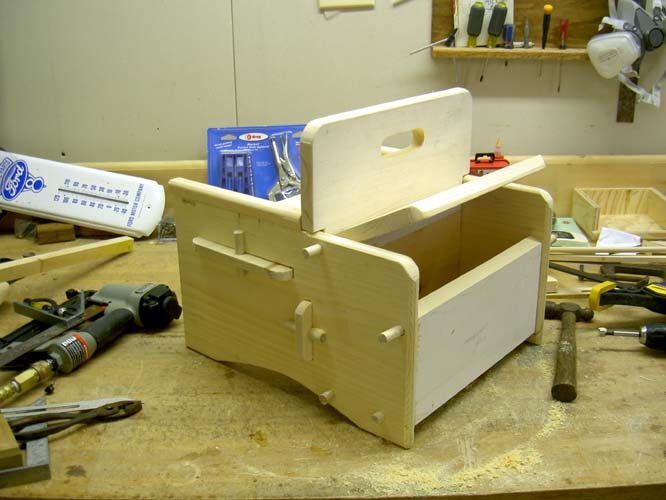
A look inside the tool/toy box 
A closer look at one of the sides
Ready for the finishing room. A little more sanding is needed too. Those dowels will be cut after final assembly.
Maybe leave them 1/4 inch proud.
My daughter Sue would like the dowels to be glued, as Little Jake has this thing for disassembling things. 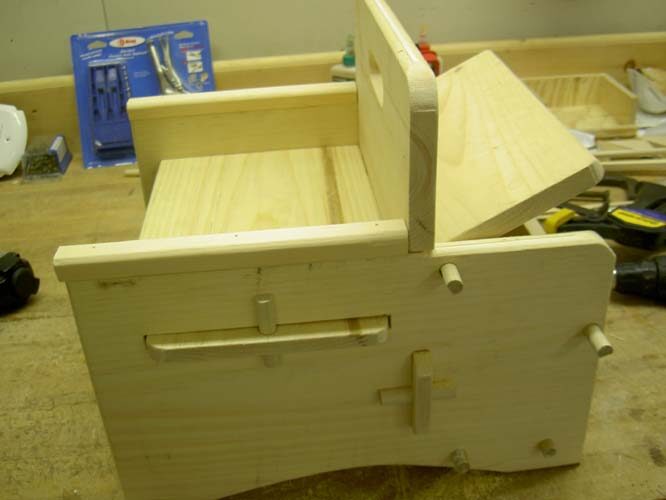
This is the finished product - the one I kept for our house, for when he comes to play.
I made a duplicate for Sue to keep at her house. She is planning on pickling it instead of paint.
I'll post it when she is finished. 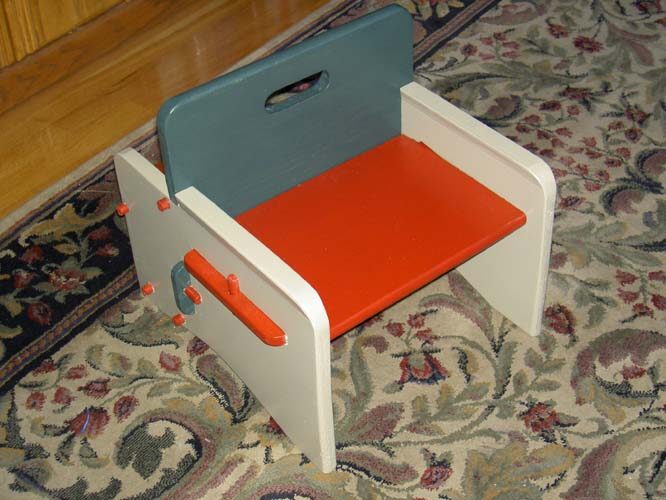
Jake loves his little Tool / Toy box. He loves to slam the lid and hide things 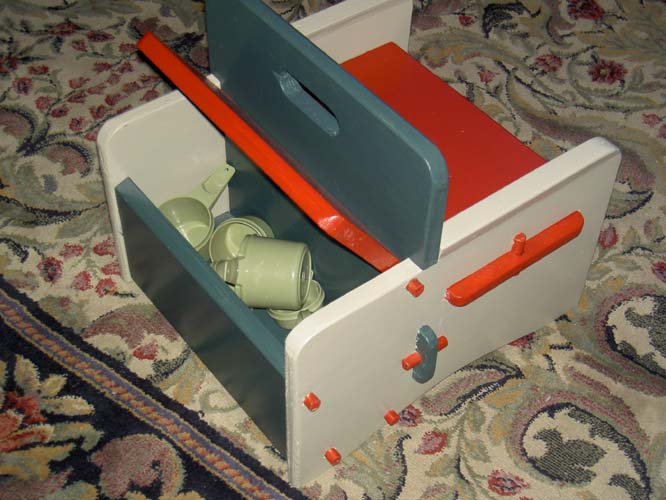
By the way...pop those pegs out and it completely comes apart
Which, hopefully, he'll do when he he figures it out
Click below
| Butterfly Chess Table | Quilt Chest | Ottoman | Baby Chair |
| Router Table | Purple Martin Bird House | Contact Me | Back to our Home Page |